Paso 1
Cargue su Osstell Beacon
Cargue el nuevo instrumento durante 3 horas antes del uso.
Paso 2
Registre su Beacon en OsstellConnect y reciba una recompensa
Registre su Beacon en OsstellConnect y reciba gratis dos cajas de SmartPeg (válido para instrumentos nuevos mientras queden existencias).
Paso 3
Empiece a medir
Siga las guías paso a paso en la sección Ayuda de OsstellConnect o contáctenos si necesita asistencia.
Configure su instrumento: paso a paso
En este breve vídeo, le guiaremos, paso a paso, en la configuración y el registro de su Osstell Beacon. Comience en 5 minutos y reciba 2 cajas de SmartPegs sin cargo.
Regístrese aquí
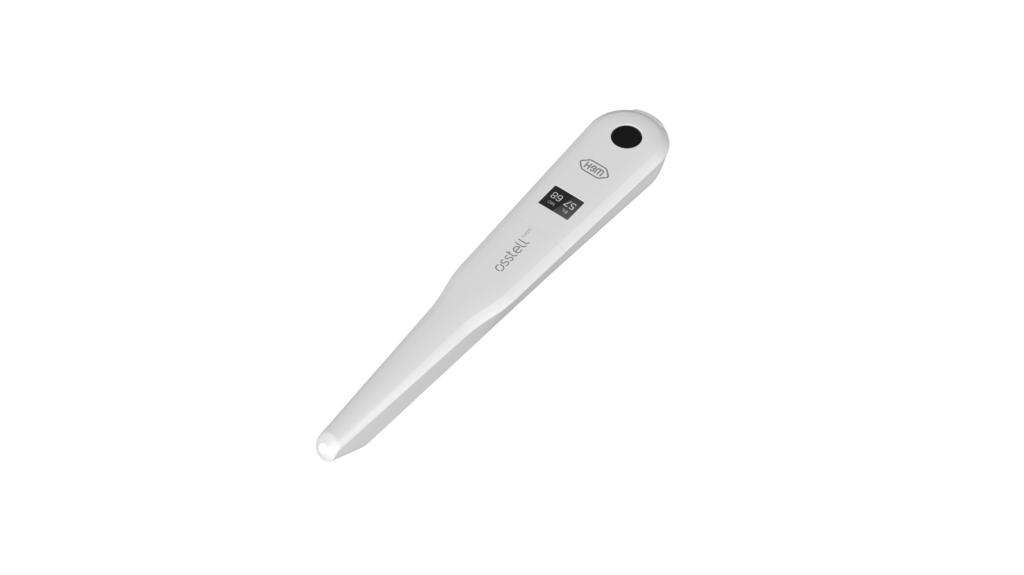
Mida la estabilidad del implante con Osstell Beacon
El Osstell Beacon determina la estabilidad del implante en cuestión de segundos. En este vídeo, le mostramos como realizar las mediciones. Para obtener guías paso a paso, visite la sección Ayuda de su cuenta de OsstellConnect.
Ir a OsstellConnect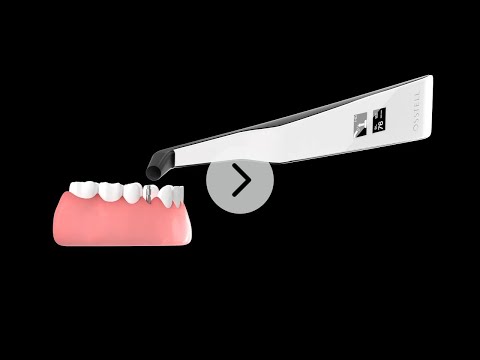
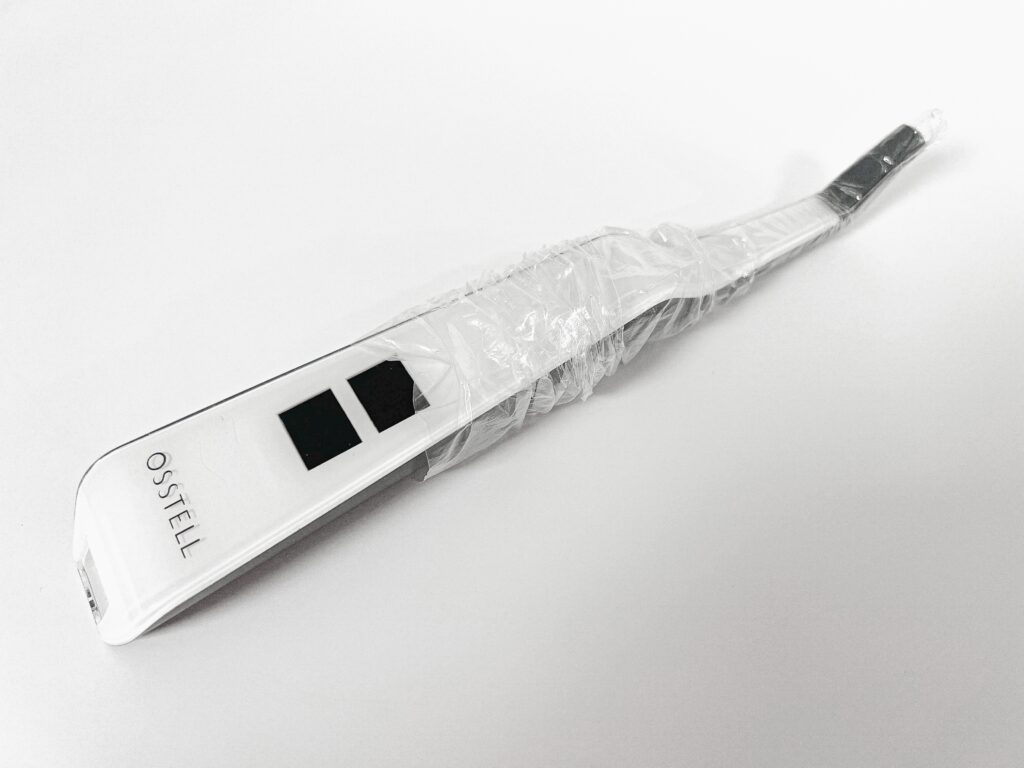
Funda de barrera
Antes de utilizar el Osstell Beacon en un paciente, coloque una funda de barrera sobre él. La funda de barrera ayuda a evitar la contaminación cruzada y a impedir que el material dental compuesto se adhiera a la superficie de la punta y del cuerpo del instrumento y que las soluciones de limpieza produzcan manchas y degradación.
Fundas de barrera recomendadas:

Omnia: Non sterile cover, Art No 30.Z0600.00, Sterile cover Art No 22.Z0600.00
PremiumPlus: 123, Small short 123, Small.
TIDIshield, Art no: 21021, Art no: 20987.
La escala ISQ
ISQ, acrónimo inglés de cuota de estabilidad del implante, es una escala de 1 a 99 para representar una medida de la estabilidad de un implante. La escala ISQ tiene una correlación no lineal con la micromovilidad. Con más de 1500 referencias científicas, ahora sabemos que una alta estabilidad significa un valor ISQ superior a 70; entre 60 y 69, se considera una estabilidad media, mientras que un valor ISQ inferior a 60 indica una baja estabilidad.
La escala ISQ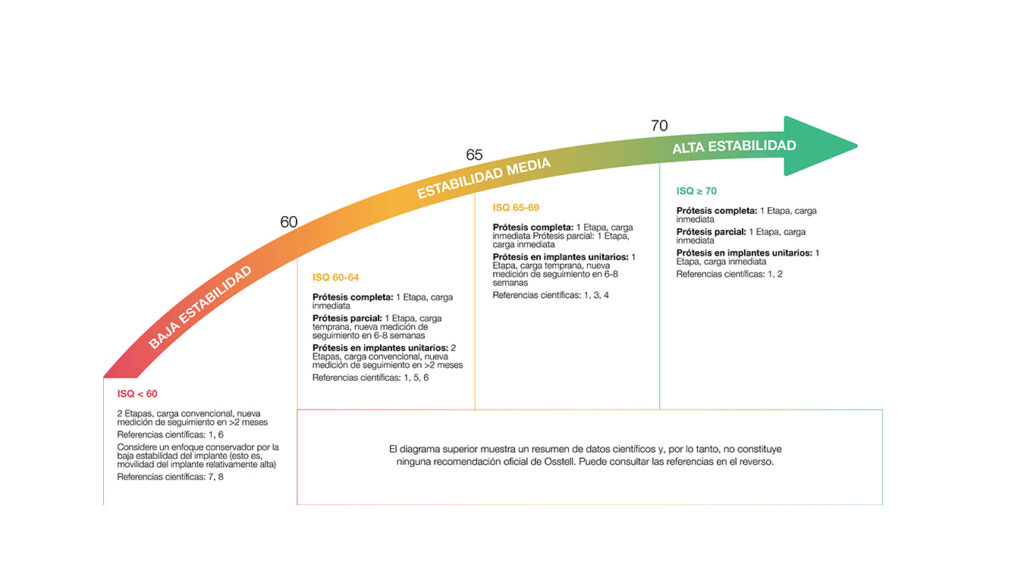
Frequently asked questions
Charge the Beacon for at least 30 min in room temperature, then try again. If the error remains, try resetting the device by:
1. Identify the Beacon reset pin on the picture below.
![]()
2. With a paper clip, do a gentle press for 1 second on the reset button (Note! You may have to tilt the pin a little downwards).
If you see a “PadLock” symbol in the upper display, press one more time on the reset button.
If the Beacon still doesn’t start or the display is showing a wrench and a manual, then please contact your local sales representative or distributor or support@staging.osstell.com.
¿Necesitas ayuda?
Rellene el formulario y en breve nos pondremos en contacto con usted. ¡En breve tendrá noticias nuestras!